Generated by Contentify AI
- Introduction
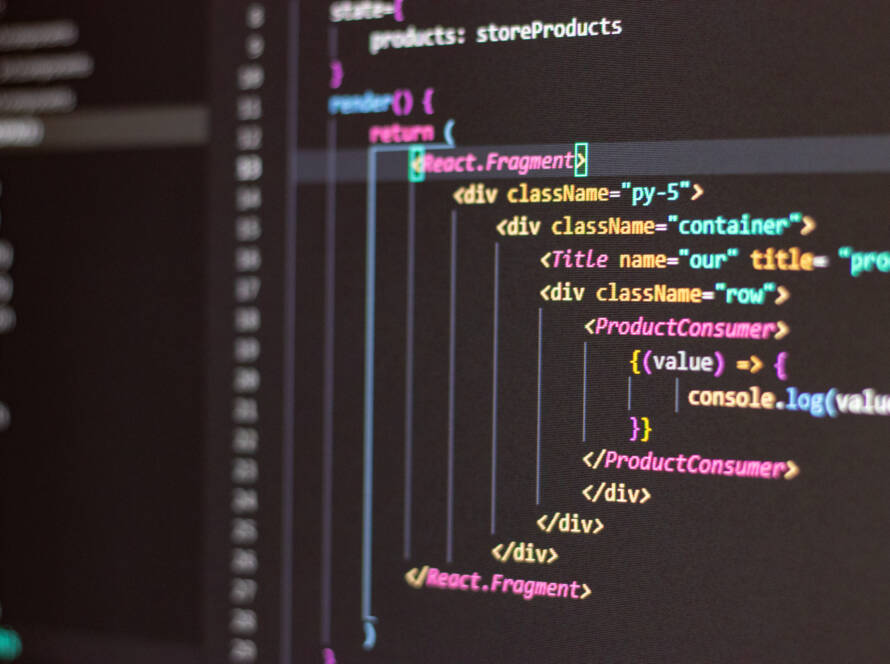
- The Basics of React JS
- Setting up Your Development Environment
- Creating Your First React Component
- Understanding State and Props
- Handling Events in React
- Managing Component Lifecycle
- Working with Lists and Conditional Rendering
- Styling with CSS in React
- Conclusion
Introduction
React JS has gained immense popularity in the world of web development, and it’s no wonder why. This powerful JavaScript library allows developers to easily build dynamic and interactive user interfaces. If you’re new to React JS and want to get started, you’ve come to the right place. In this article, we will explore the basics of React JS, guide you in setting up your development environment, show you how to create your first React component, and explain the concepts of state and props. Additionally, we will delve into handling events, managing component lifecycle, working with lists and conditional rendering, and styling your React components using CSS. By the end of this article, you will have a solid foundation for getting started with React JS and be ready to take your web development skills to the next level.
The Basics of React JS
React JS is a powerful JavaScript library that has gained immense popularity in the world of web development. It allows developers to easily build dynamic and interactive user interfaces. If you’re new to React JS and want to get started, there are a few key concepts you should familiarize yourself with.
Firstly, React JS follows a component-based architecture, meaning that you will be building your application by creating reusable components. These components can be thought of as building blocks that make up your user interface. Each component has its own set of properties, called props, which allow data to be passed into the component.
To create a React component, you will need to set up your development environment. This involves installing Node.js and a package manager like npm. Once you have your development environment set up, you can use a tool like Create React App to quickly scaffold a React project.
Once you have your project set up, you can start creating your first React component. This involves writing JSX, a syntax extension for JavaScript that allows you to write HTML-like code within your JavaScript files. JSX is used to define the structure and appearance of your components.
In addition to props, React components also have a concept called state. State represents the internal data of a component and can be modified throughout the component’s lifecycle. By updating the state, you can trigger re-rendering of the component, resulting in updates to the user interface.
React also provides a way to handle events within components. You can attach event handlers to elements and define functions that will be executed when the event occurs. This allows you to create interactive and responsive user interfaces.
Managing the lifecycle of a component is an important aspect of React development. React provides lifecycle methods that allow you to perform certain actions at specific points in the component’s lifecycle, such as when the component is mounted or updated.
Working with lists and conditional rendering is another crucial skill in React development. React provides ways to dynamically render lists of data and conditionally render components based on certain conditions. This allows you to create dynamic and flexible user interfaces.
Finally, you can style your React components using CSS. React provides several ways to apply CSS styles to your components, including inline styles, CSS modules, and CSS-in-JS libraries. This allows you to create visually appealing and responsive user interfaces.
In conclusion, getting started with React JS involves understanding the basics of React components, setting up your development environment, creating components, managing state and props, handling events, managing the component lifecycle, working with lists
Setting up Your Development Environment
Setting up your development environment is an essential first step in getting started with React JS. This ensures that you have all the necessary tools and dependencies to begin building React applications.
To set up your development environment, you will need to install Node.js and a package manager like npm. Node.js is a JavaScript runtime that allows you to run JavaScript code outside of a web browser. npm (Node Package Manager) is a tool that comes bundled with Node.js and allows you to install and manage packages (or libraries) in your project.
Once you have Node.js and npm installed, you can use a tool like Create React App to quickly scaffold a React project. Create React App is a command-line tool that sets up a new React project with a basic folder structure and configuration files. This saves you time and eliminates the need to manually configure a React project from scratch.
To create a new React project with Create React App, open your terminal or command prompt, navigate to the directory where you want to create your project, and run the following command:
“`
npx create-react-app my-react-app
“`
Replace `my-react-app` with the desired name of your project. The `npx` command is used to run Create React App without the need to globally install it on your system.
After running the command, Create React App will set up a new React project in a folder called `my-react-app` (or whatever name you provided). It will install all the necessary dependencies and create a basic project structure for you.
Once the project is created, navigate into the project directory by running:
“`
cd my-react-app
“`
You can now start the development server by running the following command:
“`
npm start
“`
This will start the development server and open your React application in your default web browser. You will be able to see a basic React template that comes with Create React App.
You are now ready to start building your React components and writing your application logic. You can edit the code in your favorite text editor or integrated development environment (IDE), and the changes will automatically reflect in the browser.
In conclusion, setting up your development environment for React JS involves installing Node.js and npm, and using Create React App to scaffold a new React project. This streamlined process allows you to quickly get started with React JS development and focus on building your React components and application logic.
Creating Your First React Component
Before you can start building your React JS applications, it’s important to set up your development environment. This ensures that you have all the necessary tools and dependencies in place. The first step is to install Node.js and npm, which will allow you to run JavaScript code outside of a web browser and manage packages in your project, respectively. Once Node.js and npm are installed, you can use a tool like Create React App to quickly set up a new React project. Create React App automates the process of creating a basic folder structure and configuration files for your project. With your development environment properly configured, you’re now ready to start creating your first React component. This involves writing JSX, a syntax extension for JavaScript that allows you to write HTML-like code within your JavaScript files. JSX is used to define the structure and appearance of your components. Remember to keep your component’s logic and rendering separate to ensure reusability. By breaking down your application into reusable components, you’ll be able to create dynamic and interactive user interfaces. With your first React component created, you can now move on to understanding state and props. State represents the internal data of a component and can be modified throughout its lifecycle. Props, on the other hand, are properties passed into a component from its parent component. Understanding how to manage state and props is crucial for building dynamic and responsive applications. In conclusion, getting started with React JS involves setting up your development environment, creating your first React component using JSX, and understanding state and props. Once you have mastered these fundamental concepts, you’ll be well on your way to building powerful and engaging React applications.
Understanding State and Props
Understanding State and Props
One of the key concepts in React JS is understanding state and props. These concepts play a crucial role in building dynamic and interactive user interfaces.
State represents the internal data of a component. It allows the component to manage and update its own data. By using state, you can create components that can dynamically change their content or appearance based on user interactions or other events.
Props, short for properties, are data passed into a component from its parent component. Props are immutable, meaning they cannot be changed by the component receiving them. They provide a way to pass data down the component tree and enable communication between different parts of your application.
Understanding how state and props work together is essential for building well-structured and reusable components. By using state, you can store and update data within a component, while props allow you to pass data between components.
To use state and props in your components, you need to define them and then access them within the component. State is typically defined within the constructor of a component, while props are passed as parameters to the component’s function or as attributes in JSX.
Once you have defined and accessed state and props, you can use them to dynamically render content, update the component’s appearance, or trigger specific actions within the component.
In conclusion, understanding state and props is fundamental to getting started with React JS. By utilizing these concepts, you can create dynamic and interactive components that respond to user interactions and enable effective communication between different parts of your application.
Handling Events in React
Handling Events in React
React JS provides a straightforward way to handle events within components, allowing you to create interactive and responsive user interfaces. Events in React are similar to events in HTML, but with some differences in syntax and usage.
To handle events in React, you can attach event handlers to elements, just like you would in traditional JavaScript or HTML. However, in React, event handlers are defined as methods within a component class.
You can define an event handler by creating a method that follows the naming convention `handleEventName`, where `EventName` is the name of the event you want to handle. For example, if you want to handle a `click` event, you would create a method called `handleClick`.
Inside the event handler method, you can define the actions you want to perform when the event occurs. This can include updating the state of the component, making API calls, or triggering other functions.
To attach the event handler to an element, you can use the `onEventName` attribute in JSX. For example, if you want to handle a `click` event on a button, you would add the `onClick` attribute to the button element and set it to the corresponding event handler method.
When the event occurs, React will call the event handler method and execute the defined actions. It’s important to note that event handler methods in React are automatically bound to the component’s instance, so you don’t need to worry about manually binding the `this` context.
In addition to handling standard events like `click`, React also provides support for other events such as `change`, `submit`, and `keydown`, among others. You can refer to the React documentation for a complete list of supported events.
Handling events in React is a powerful feature that allows you to create interactive and dynamic user interfaces. By attaching event handlers to elements and defining the corresponding actions, you can build applications that respond to user interactions in real-time.
In conclusion, handling events in React JS is a crucial skill to master when getting started with React JS. By understanding how to define event handlers, attach them to elements, and perform actions in response to events, you’ll be able to create engaging and interactive user interfaces for your React applications.
Managing Component Lifecycle
Managing Component Lifecycle
When working with React JS, it’s important to understand the concept of component lifecycle. The component lifecycle refers to the different stages a component goes through, from its creation to its removal from the DOM. By understanding the component lifecycle, you can effectively manage the behavior and appearance of your components throughout their lifespan.
React provides several lifecycle methods that allow you to perform specific actions at different stages of the component’s lifecycle. These methods include `componentDidMount`, `componentDidUpdate`, and `componentWillUnmount`, among others.
The `componentDidMount` method is called immediately after a component is rendered on the page. This is a good place to initialize any data that the component needs. For example, you can make API calls or set up event listeners in this method.
The `componentDidUpdate` method is called whenever the component’s props or state change. This is a useful place to perform any additional actions or update the component’s appearance based on the new data.
The `componentWillUnmount` method is called right before a component is removed from the DOM. This is where you can clean up any resources or event listeners that the component has created.
By utilizing these lifecycle methods, you can ensure that your components behave correctly and efficiently throughout their lifespan. It’s important to note that React has made some changes to the lifecycle methods in recent versions. The `componentWillMount`, `componentWillReceiveProps`, and `componentWillUpdate` methods have been deprecated, and you should use their alternatives instead.
Understanding and managing the component lifecycle is an essential skill when working with React JS. By leveraging the lifecycle methods provided by React, you can control the behavior and appearance of your components at each stage of their lifecycle. This allows you to build robust and responsive applications that deliver a smooth user experience.
In conclusion, managing the component lifecycle is a crucial aspect of working with React JS. By understanding and utilizing the lifecycle methods provided by React, you can effectively control the behavior and appearance of your components. This allows you to create dynamic and responsive applications that provide an excellent user experience.
Working with Lists and Conditional Rendering
Working with Lists and Conditional Rendering
In addition to building dynamic and interactive user interfaces, React JS also provides powerful features for working with lists and conditional rendering. These features allow you to handle data efficiently and display content conditionally based on certain conditions.
When it comes to working with lists, React provides a convenient way to render multiple elements dynamically. Instead of manually creating and updating the elements, you can use the map method to iterate over an array of data and generate a list of components.
To render a list using the map method, you can create a new component for each item in the array and pass the necessary data as props. This way, the list will update automatically when the data changes. Additionally, you can use unique keys for each item in the list to allow React to efficiently update and reorder the elements.
Conditional rendering, on the other hand, allows you to display different content based on specific conditions. React provides several ways to implement conditional rendering, such as using the ternary operator, short circuit evaluation, or element variables.
By applying conditional rendering, you can show or hide certain components or display alternative content based on user interactions or specific data conditions. This allows you to create dynamic and personalized user experiences.
Working with lists and conditional rendering are important skills in React JS development. They enable you to efficiently handle data and customize the display of your components. By leveraging these features, you can create flexible and responsive user interfaces that adapt to different scenarios.
In conclusion, as you delve deeper into React JS, it is crucial to understand how to work with lists and implement conditional rendering. These features allow you to handle data dynamically and customize component rendering based on specific conditions. By incorporating these techniques into your React projects, you will be able to build powerful and versatile applications.
Styling with CSS in React
Styling with CSS in React
When it comes to creating visually appealing and stylish user interfaces with React JS, styling is an essential aspect to consider. Fortunately, React provides several ways to apply CSS styles to your components, allowing you to achieve the desired look and feel. Whether you prefer inline styles, CSS modules, or CSS-in-JS libraries, React has got you covered.
Conclusion
Conclusion:
Getting started with React JS is an exciting journey into the world of building dynamic and interactive user interfaces. By understanding the basics of React JS, setting up your development environment, creating your first React component, and grasping the concepts of state and props, you have laid a solid foundation for your React JS journey. Additionally, you’ve learned how to handle events, manage the component lifecycle, work with lists and conditional rendering, and apply CSS styles to your components. Armed with this knowledge, you are now ready to dive deeper into the world of React JS and continue honing your skills. So go ahead, start building amazing React applications and unleash your creativity!